Community History Archive Resources
Community History Archive Resources

Search and Tools Help - Using the Community History Archives
Search and Tools Help - Using the Community History Archives
Search and Tools Help - Using the Community History Archives
Search and Tools Help - Using the Community History Archives
Tutorial - Searching Yearbooks
Mulit-Select Tool
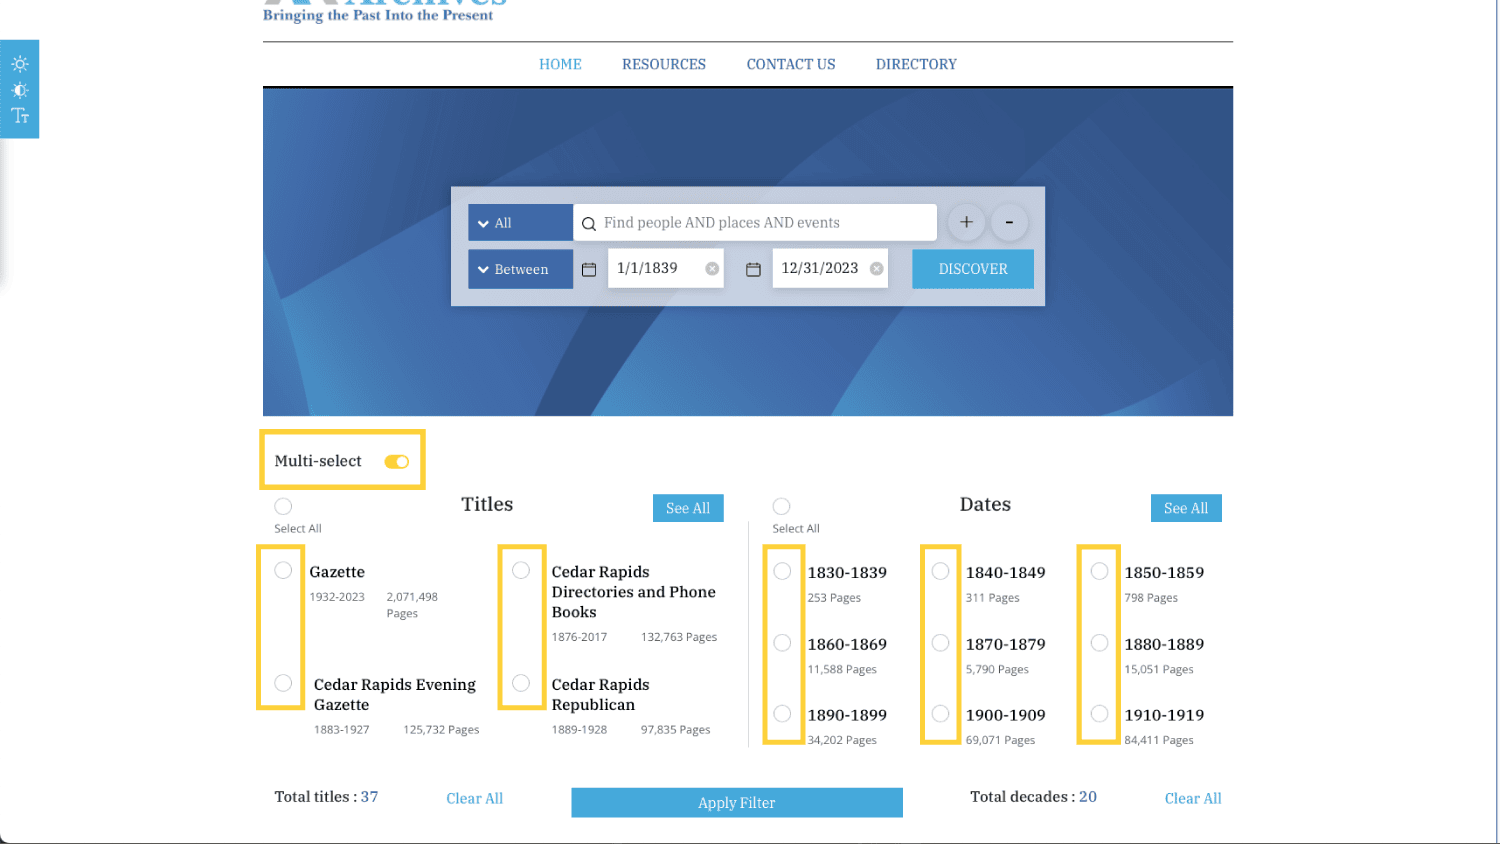
By checking the multi select tool (pictured below), you are able to select individual titles and date ranges before making your first search. This will help you narrow down your results right from the beginning.
Date Range
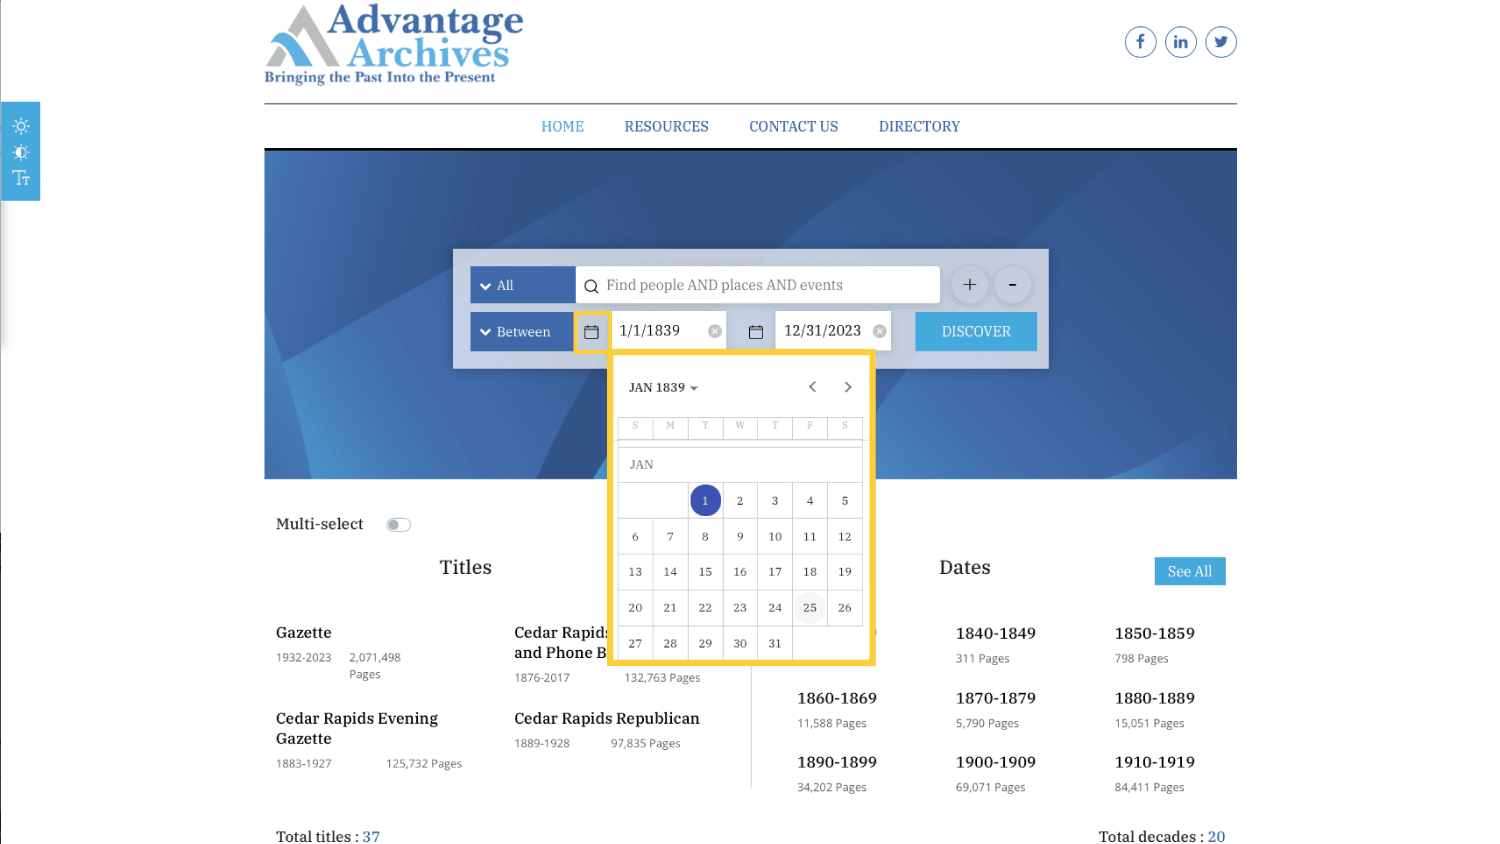
You can preset the date range that you want to search within in two ways. You can select the dates using the multi-select tool (pictured and described above), or you can use the date range tool within the query builder (pictured below). You can select the calendar icon on both the start and end date to select the date, or you can type it in either box using the dd/mm/yyyy format. You can also click on the "Between" button, and change it to "On", "Before", or "After". This will help you narrow down your results right from the beginning.
Query Builder (Search) Tool
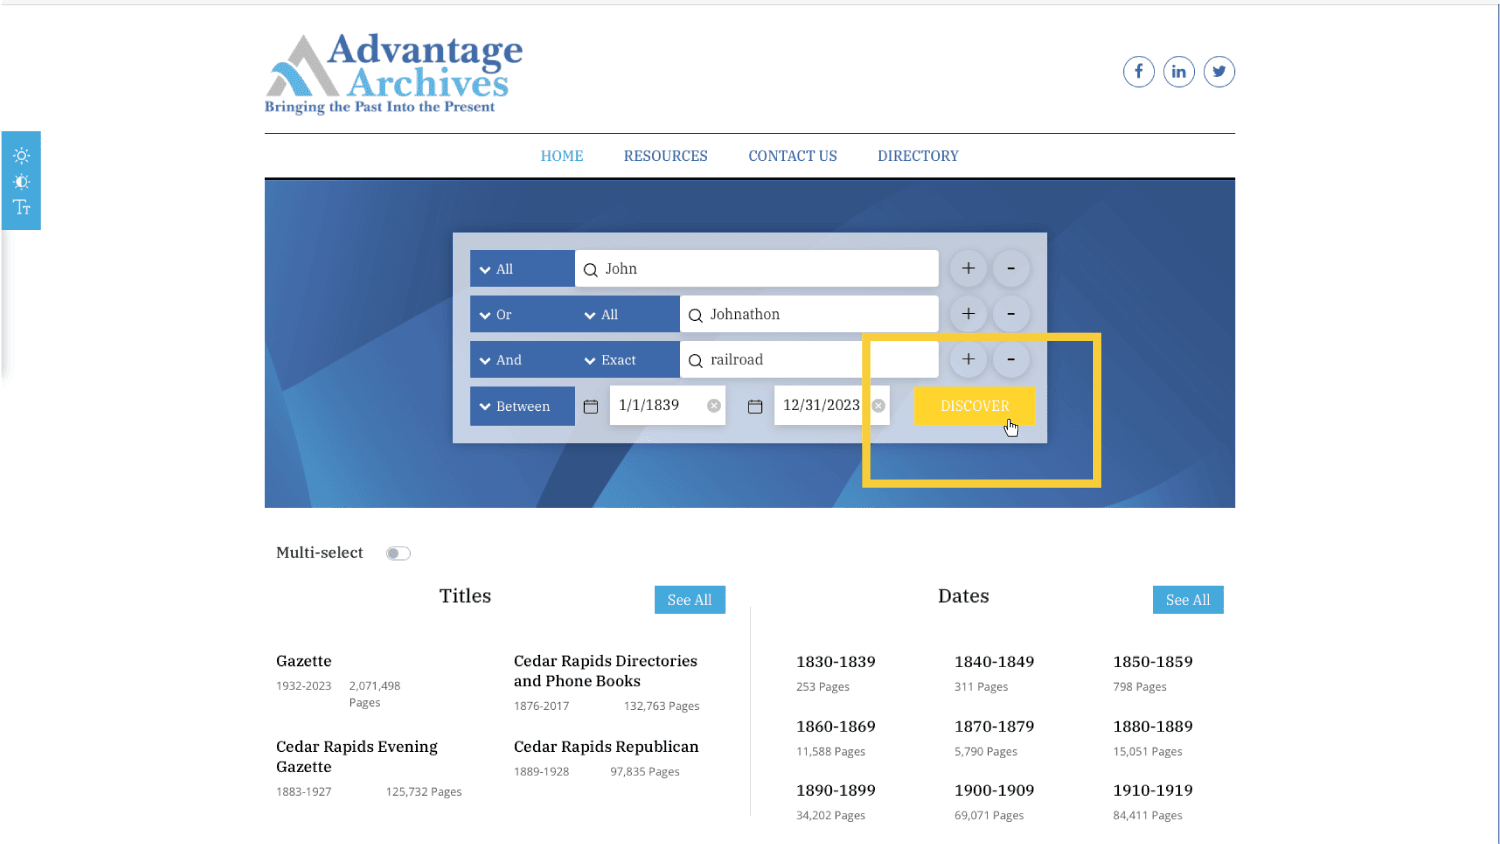
You can build a stronger query by using the query builder tool (pictured below). This tool allows you to further refine your search by including or excluding multiple keywords. By clicking the "+" button (highlighted on the right side below) you can add an additional box. There is no limit on the number of search boxes you may use. The indicator (highlighted on the left of the search box in the image below) allows you to choose if you want to search for a keyword "AND" another keyword, "OR" another keyword. The "All" button allows you to decide if you want "All" results "Exact" results, "Any" results, or "None" results from that keyword. Combined with the date range tool, this will help you narrow down your results significantly, right from the beginning.

Discover
By clicking the "Discover" button, the Community History Archive will search the entire contents of the community's searchable content, giving you every result that matches your search query.
Search Results
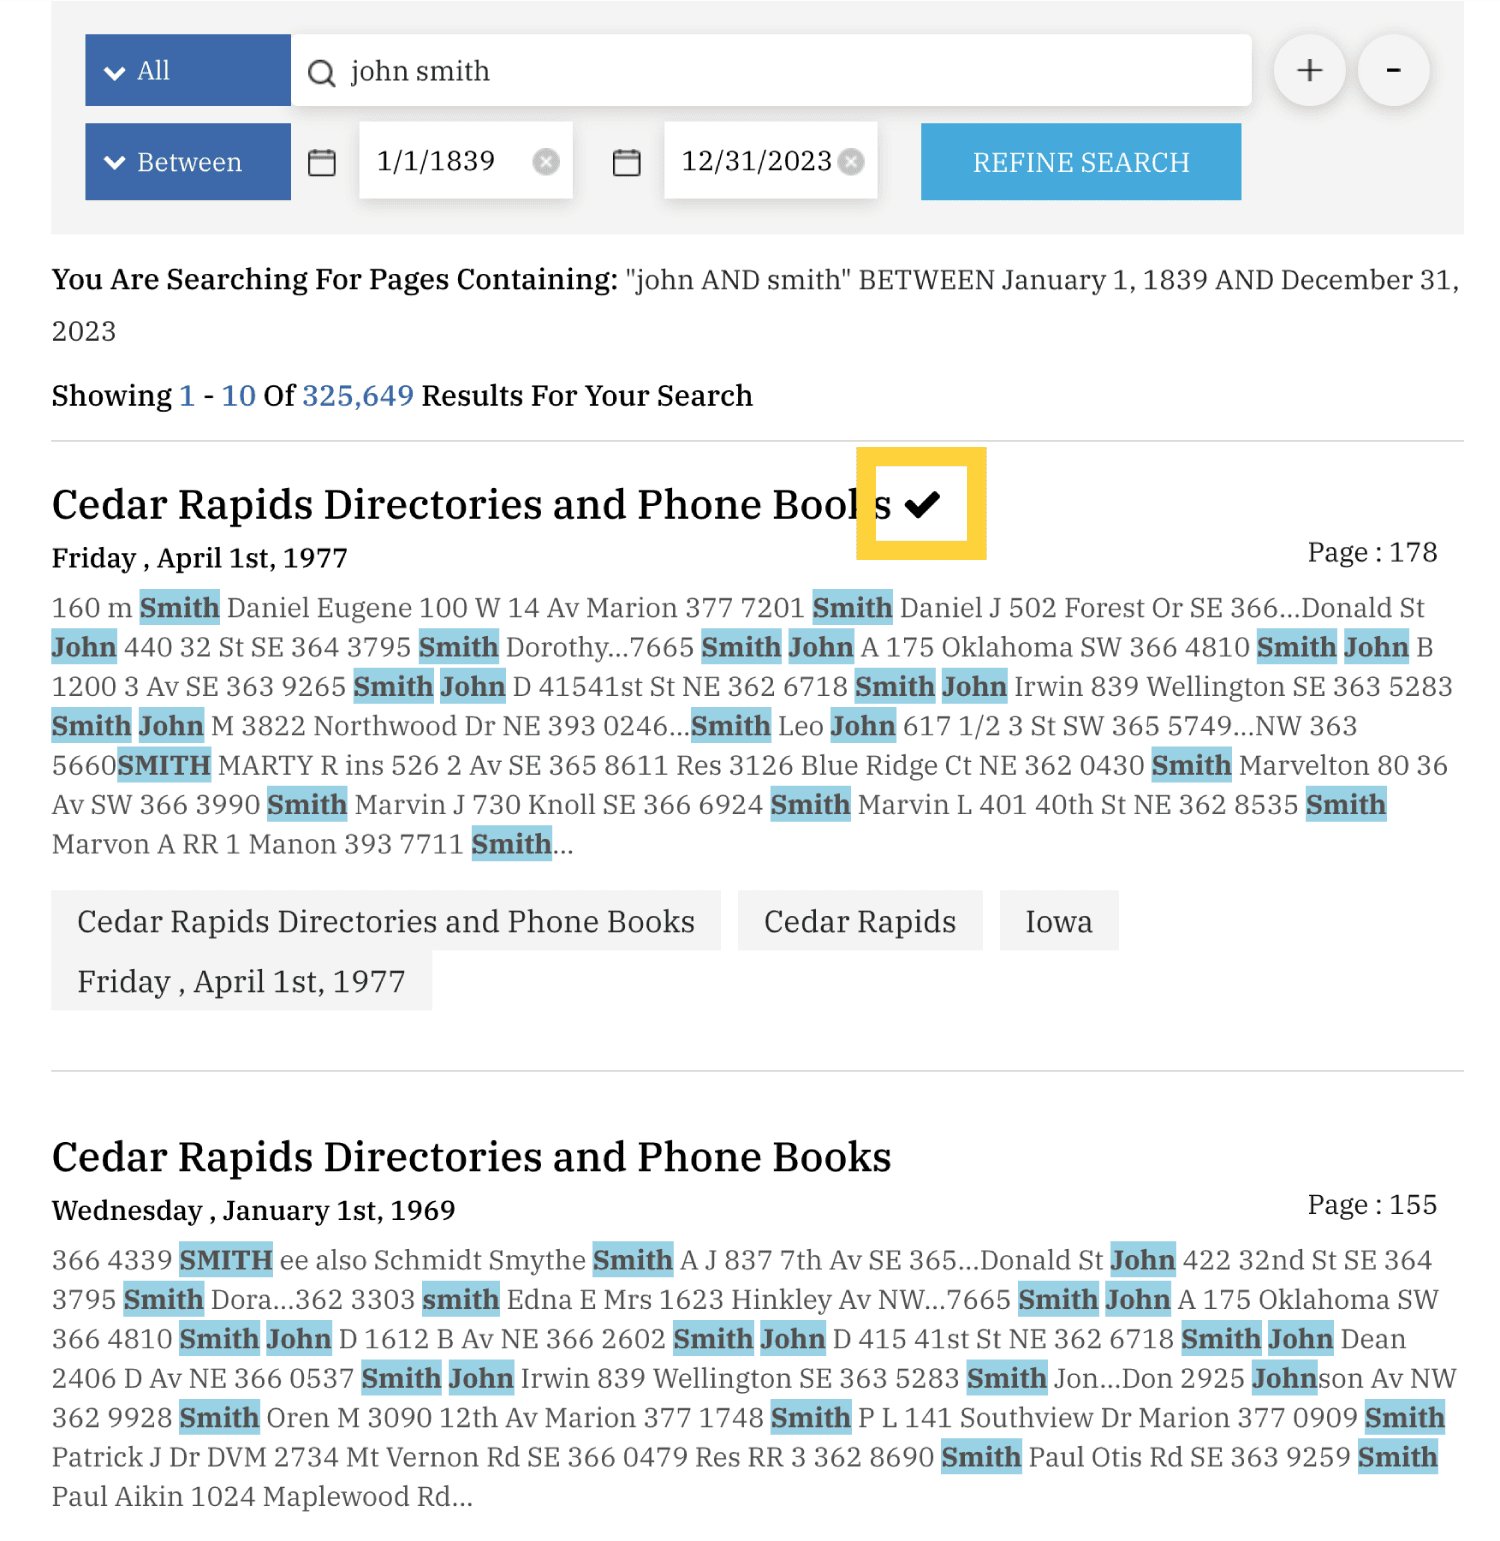
Once you've made your search, you will load a results page (pictured below). This page will show you the search you've made (and allow you to change it) as well as the number of results, and the results themselves. The results show you the title, day and date, page number, and a preview of some of the content with your results highlighted.
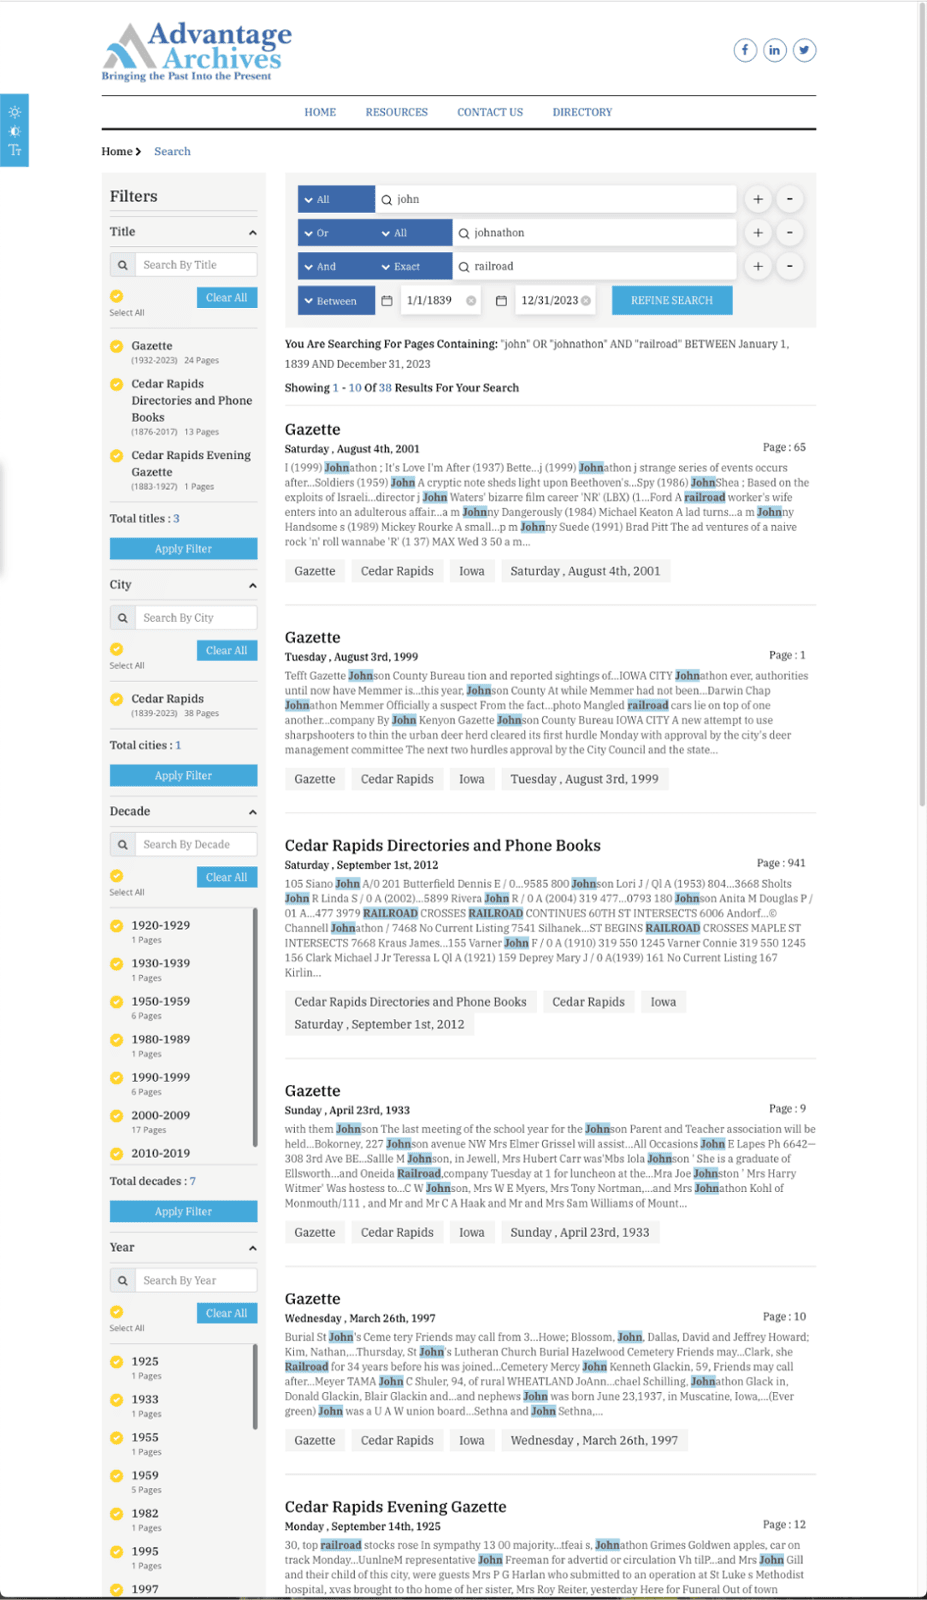
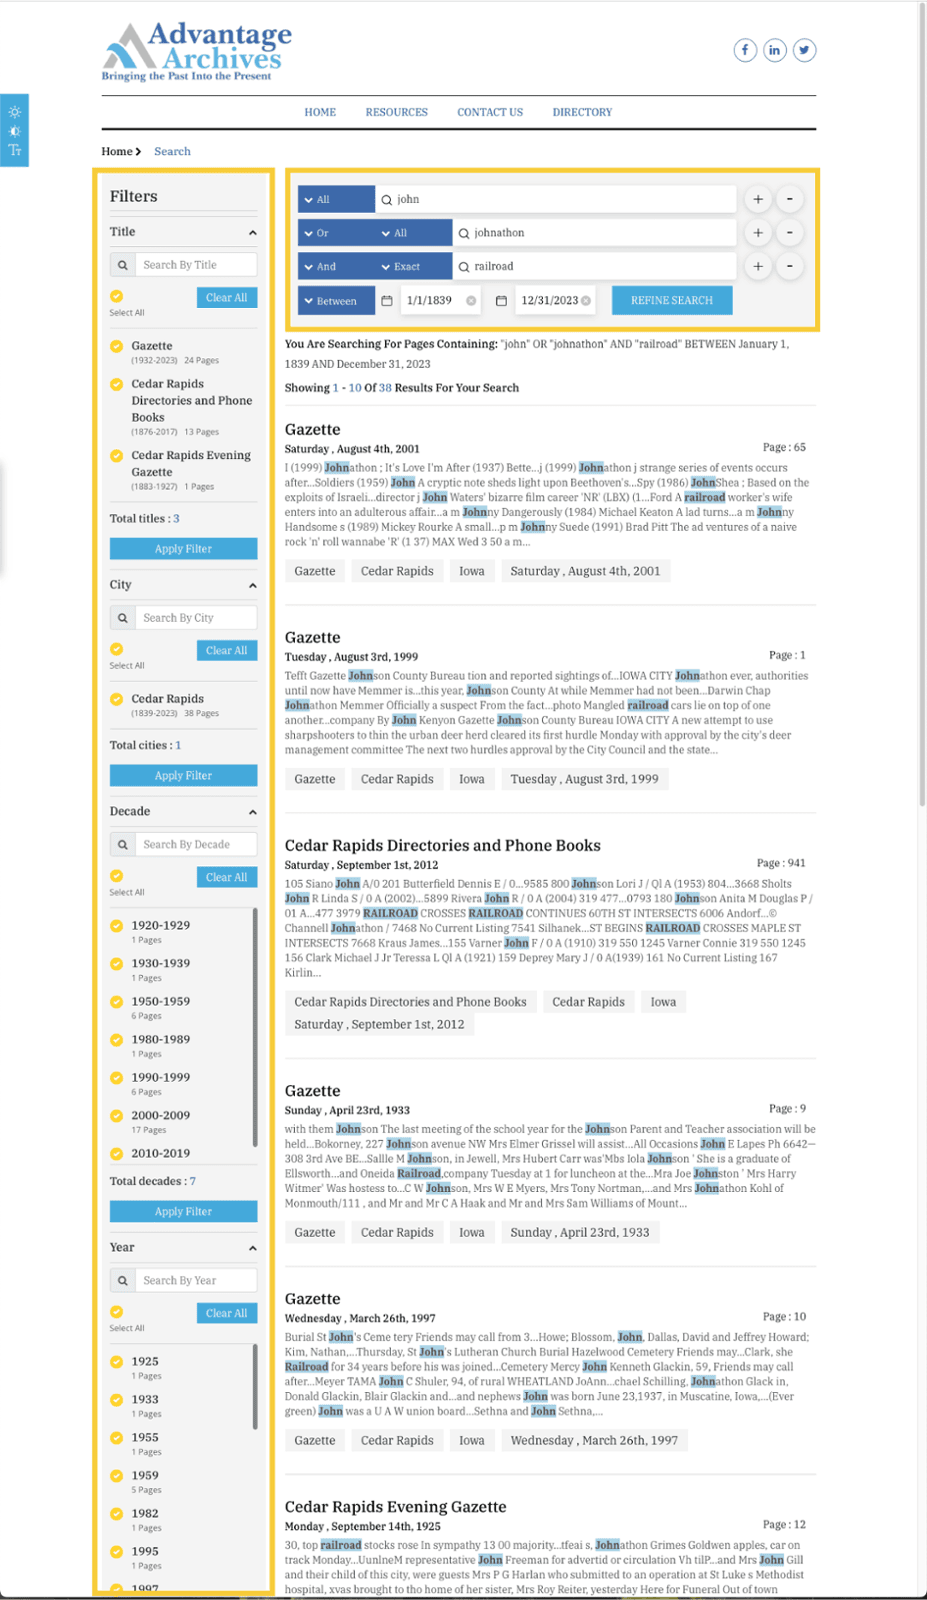
Refining Search Results
The multi select "Filters" feature on the left hand side (highlighted below) will allow you to further narrow your search, as will the query builder at the top. Keep in mind, at this point only the previously selected options will show up in the filter. If you want to add, rather than subtract dates or titles, you will need to build a new search on the "Home" page.
Page Header
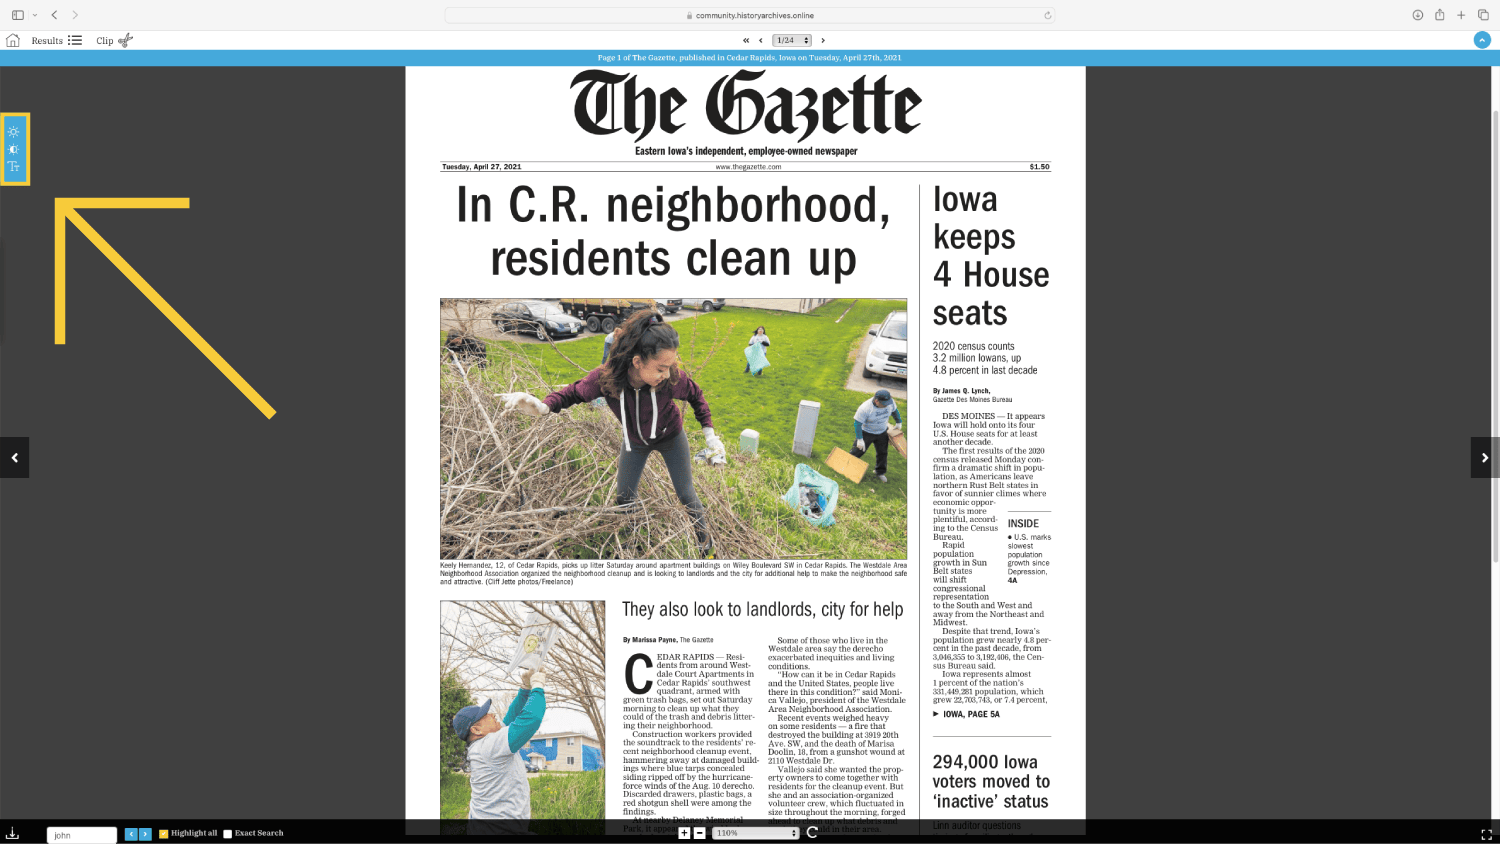
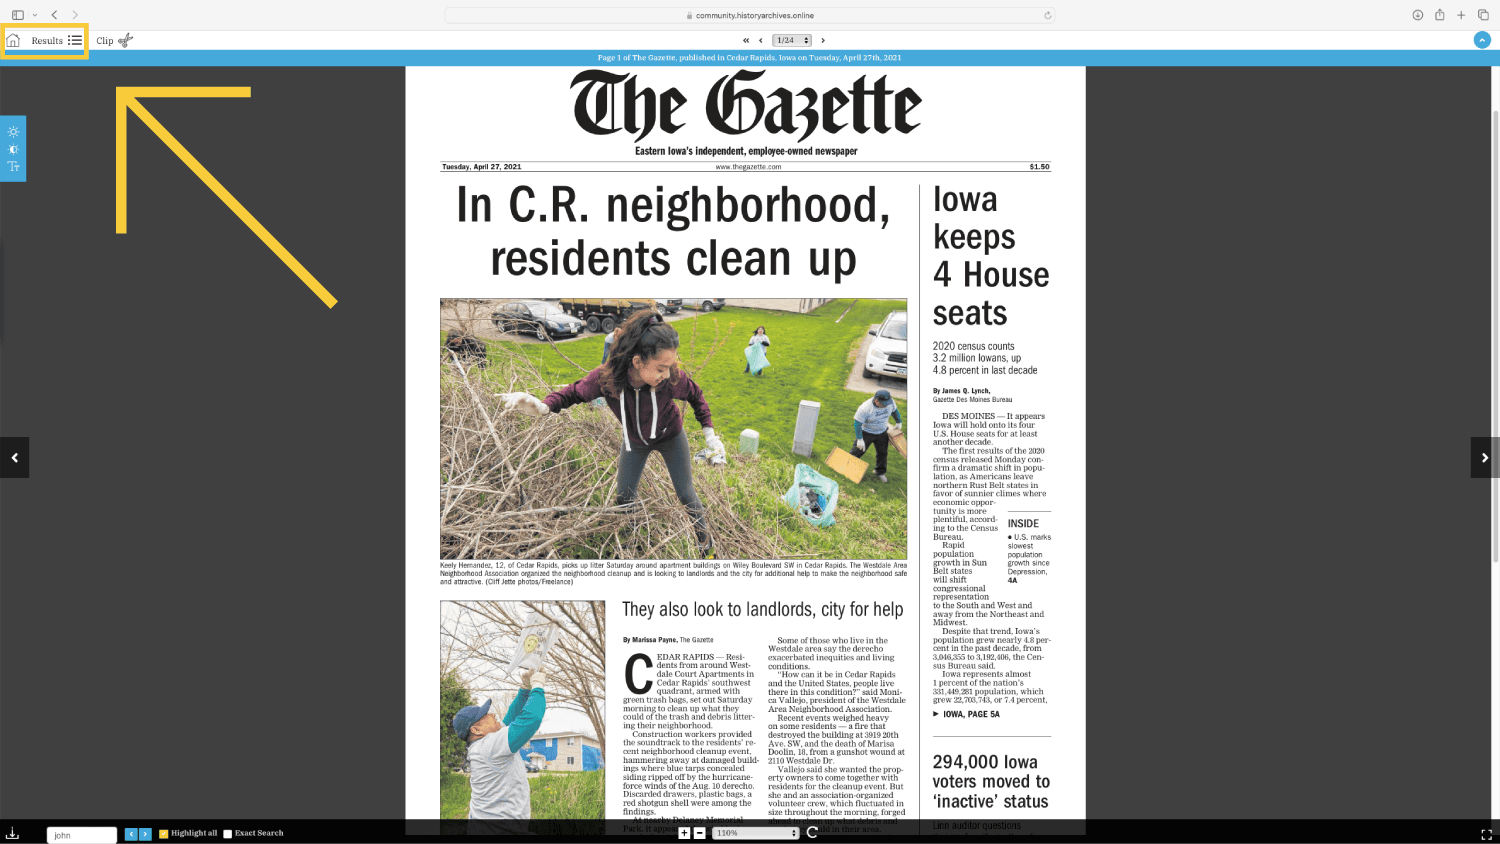
Once you have clicked on a result, your page will look like this. The image you have may be in color, or black and white depending on the source material provided. At the top center of the screen, you will find the page number, title, city, day, and date. Just above that, you will find the current page and total pages for that issue, as well as controls to move between pages.
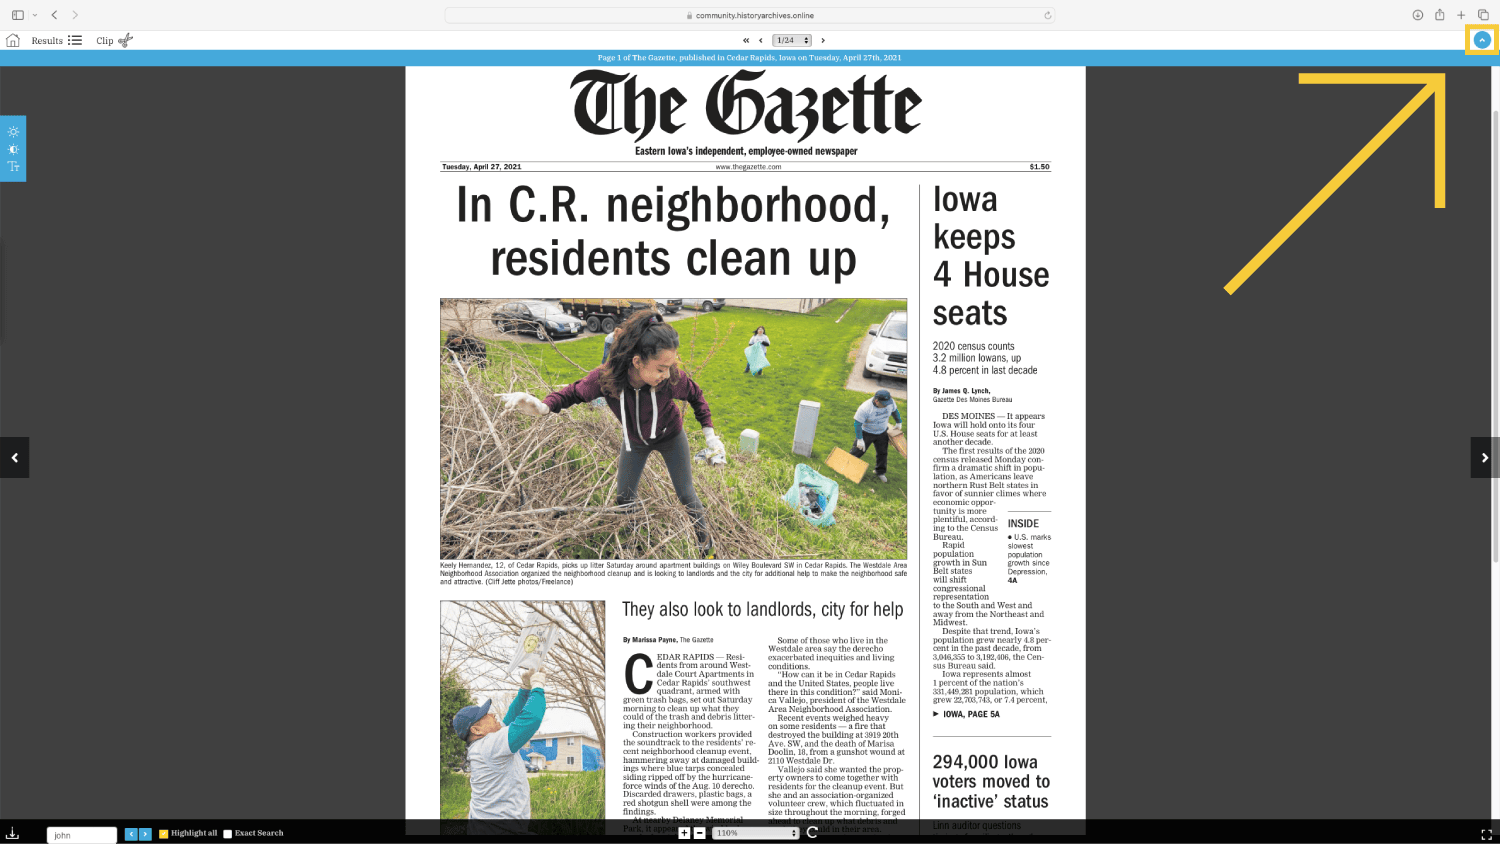
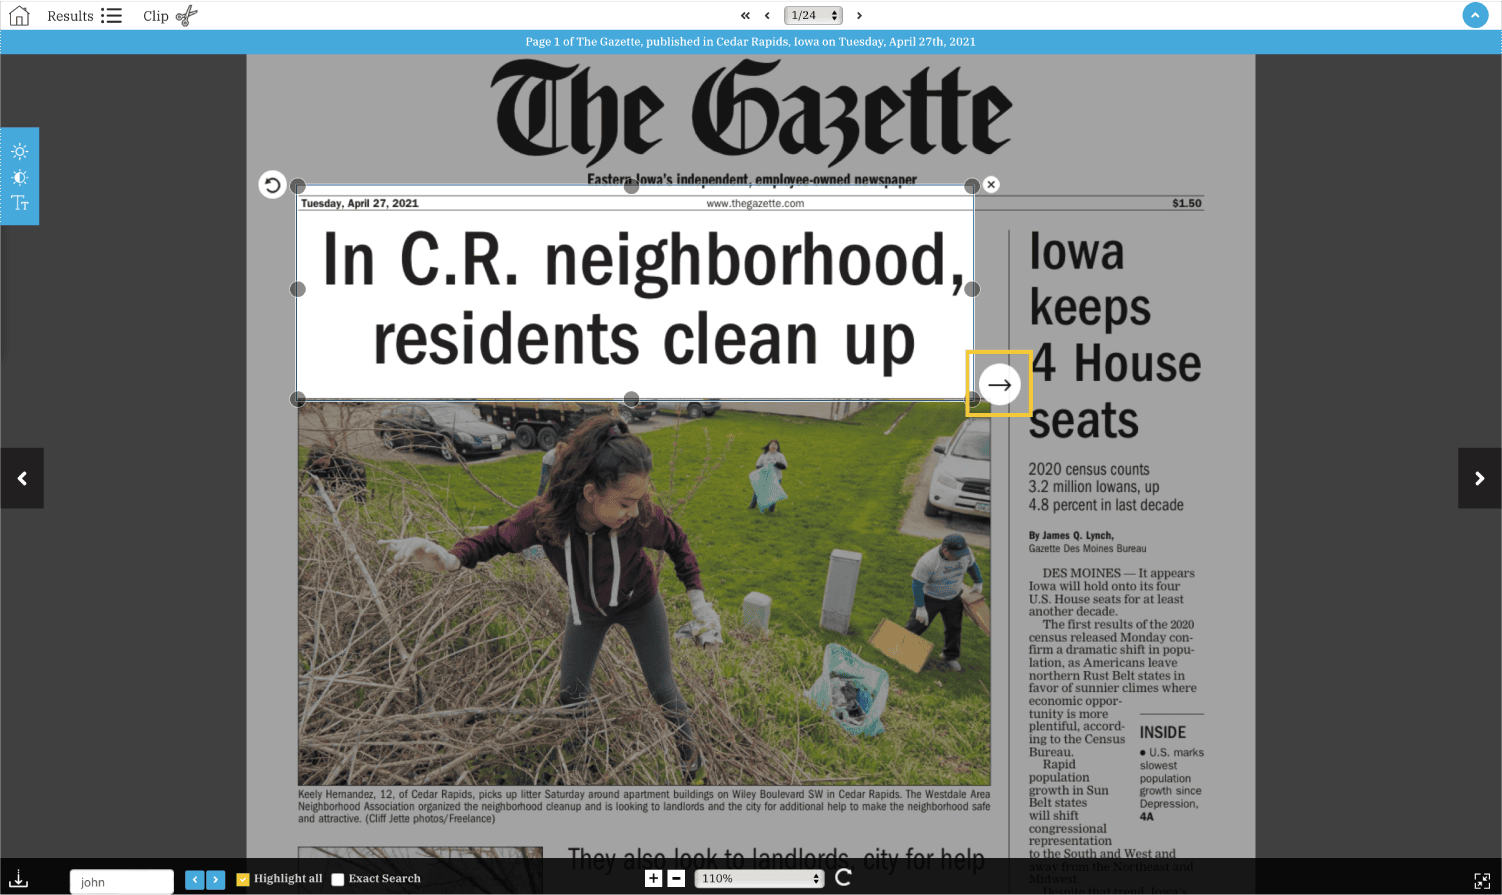
In the top right corner, there is a small circle with an arrow in it pointing up (highlighted in image 2 below). Clicking it will hide the header information, giving you a better view of the historical image. Clicking it again will bring the header information back. Keep in mind the color may not be blue, as each Community History Archive has it's own branding and colors.
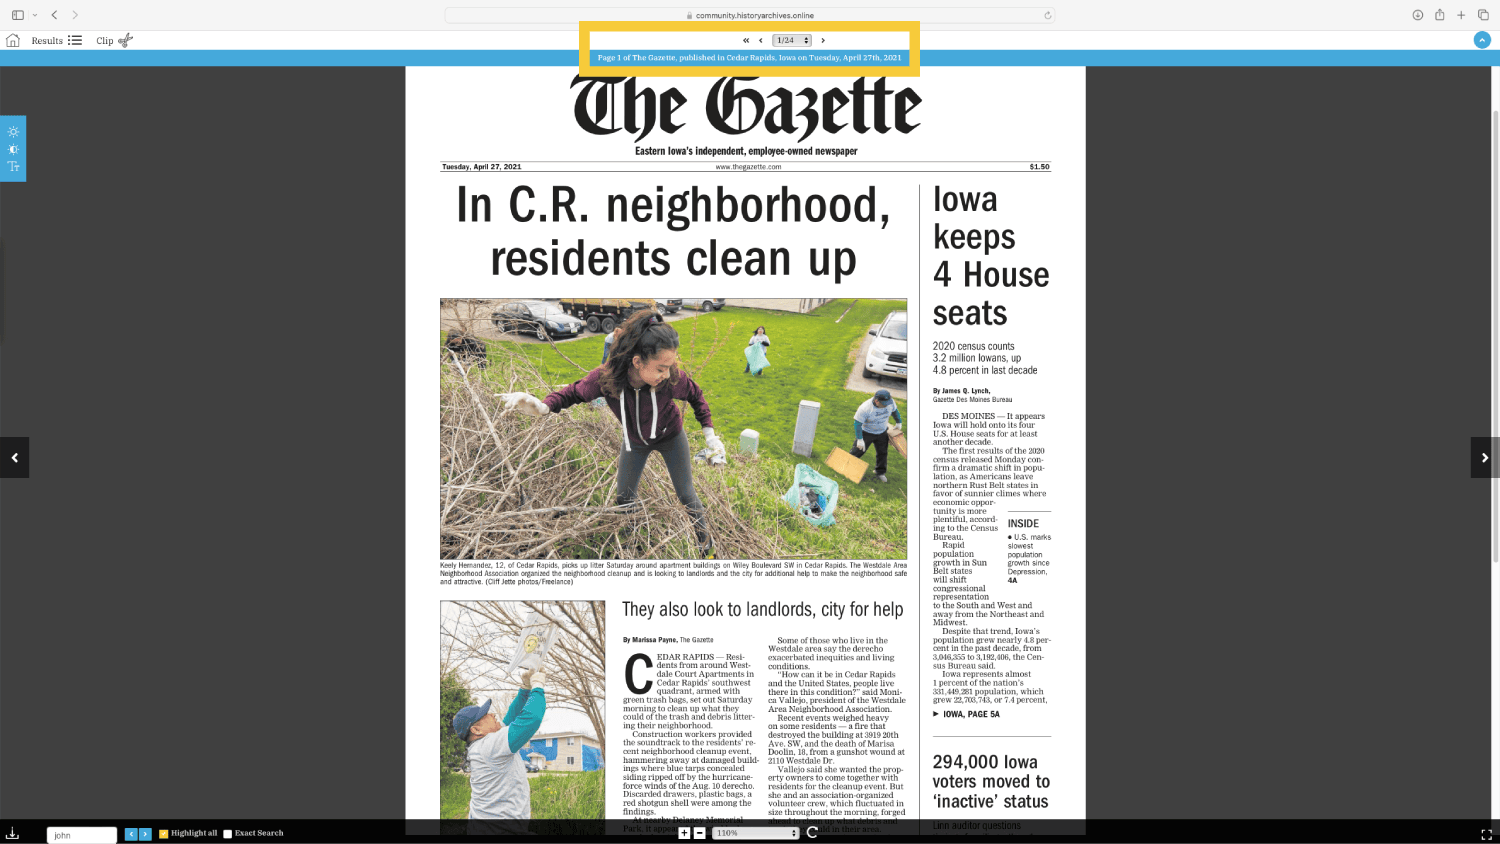
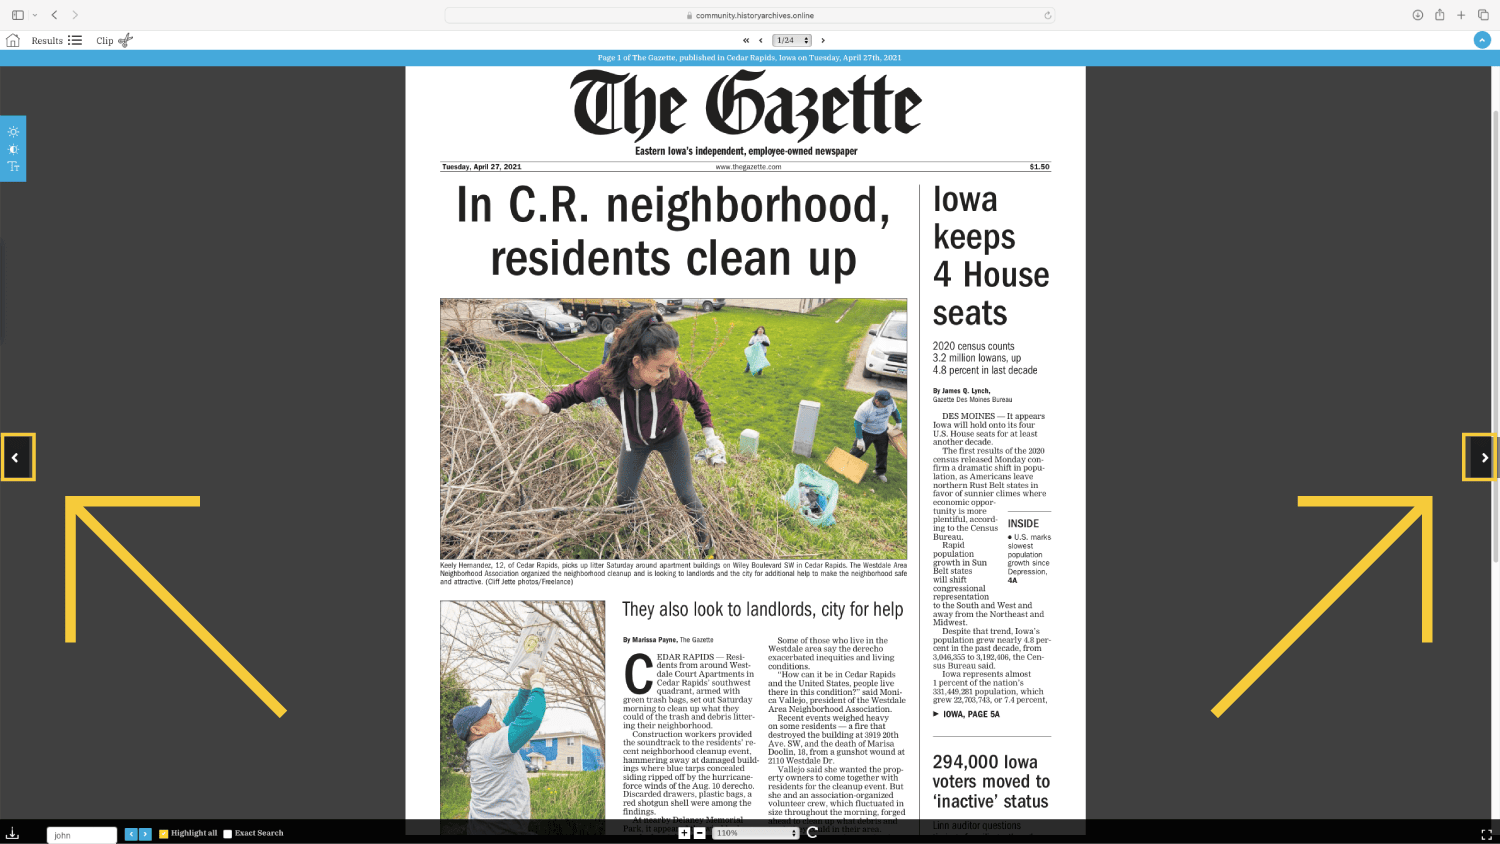
Page Turn Controls
On the left and right side of the screen, you will find arrows. These arrows will move you back and forth for pages within in the edition. In this case, there are 24 pages from the April 27th, 2021 version of the Cedar Rapids Gazette. Clicking the right arrow will take you to page 2. If you then click the left arrow, it will take you back to page 1.
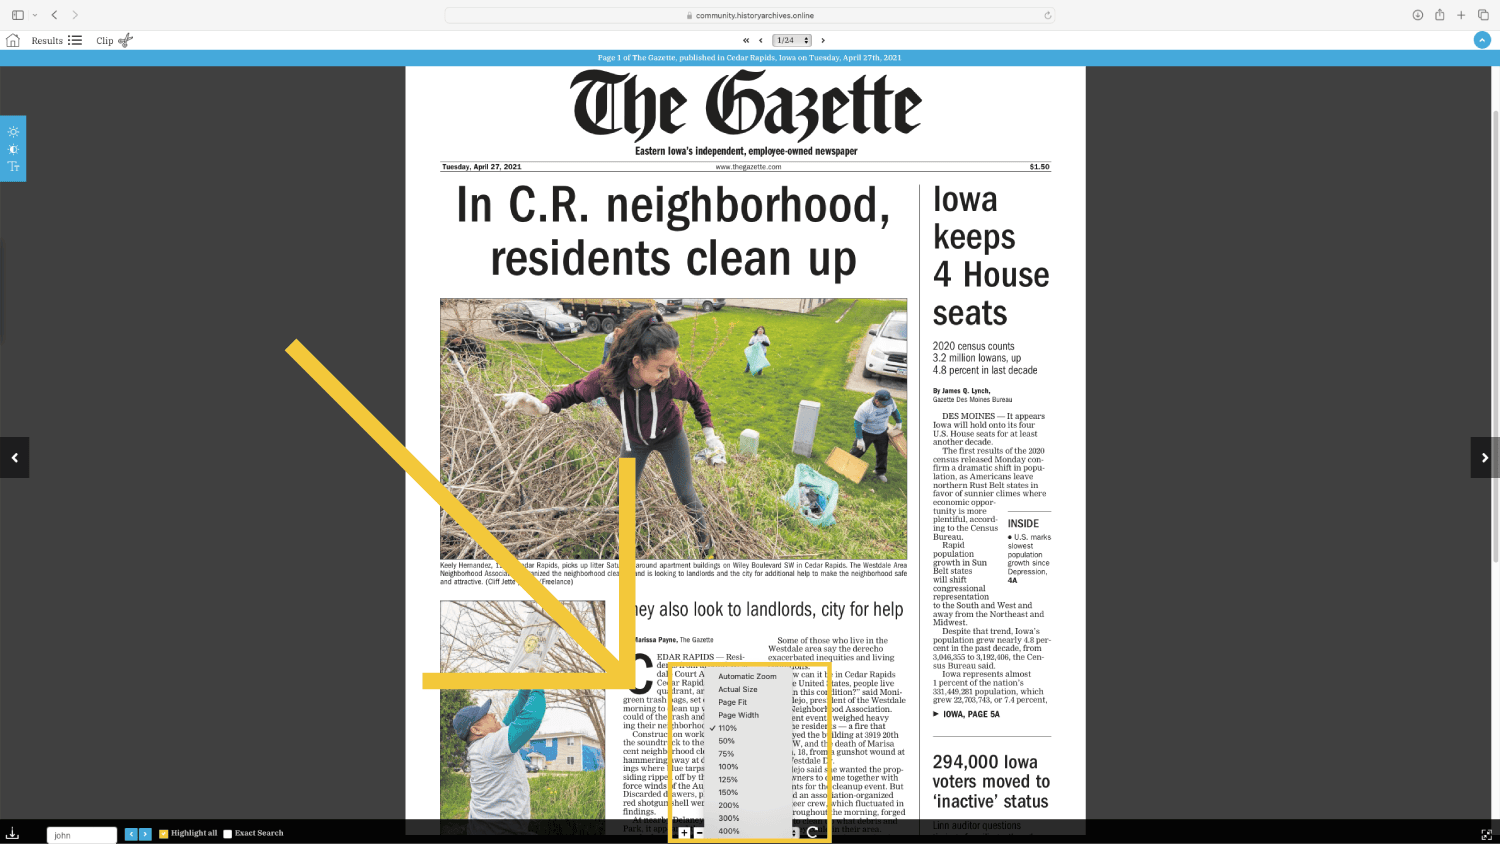
Zoom View Controls
In the middle of the bottom bar, there is a viewer size selector. You can click the plus or minus button to zoom in and out, select the zoom percentage you would like.
There are also options for:
- Actual Size: This will show the image in it's actual size. It is good for getting a feel for the size of the actual source material. Some yearbooks are really small, and some maps are really big!
- Page Fit: This will fit the entire page on the screen, so that the very top and very bottom all fit. It is excellent for viewing the page as a whole, and making sure you can view all material.
- Page Width: This setting will zoom in until the page width touches each edge of your screen
Be sure to experiment with the different zoom sizes and see what works best for you!
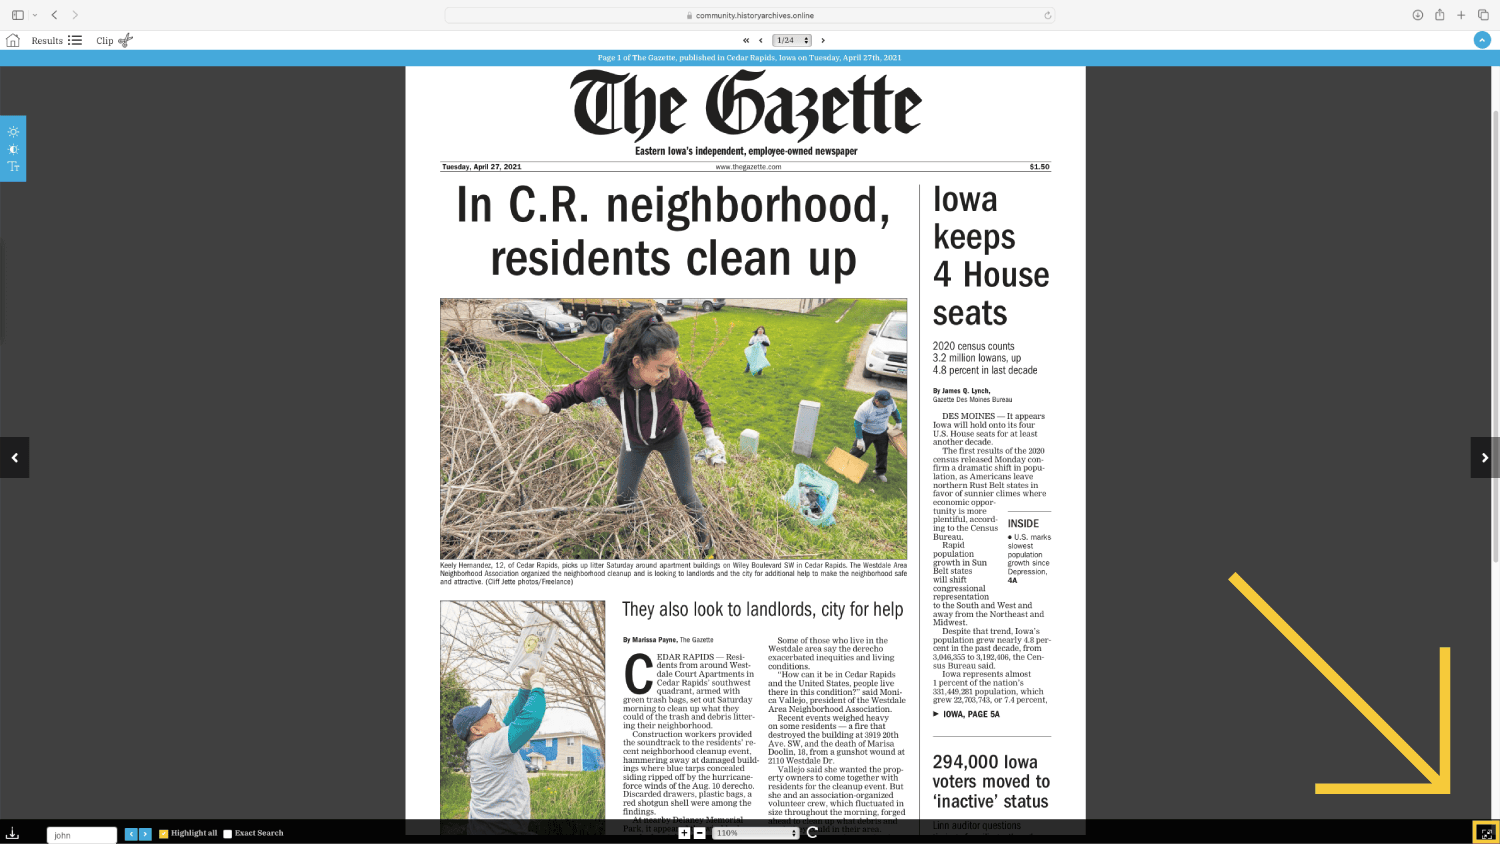
Fullscreen mode

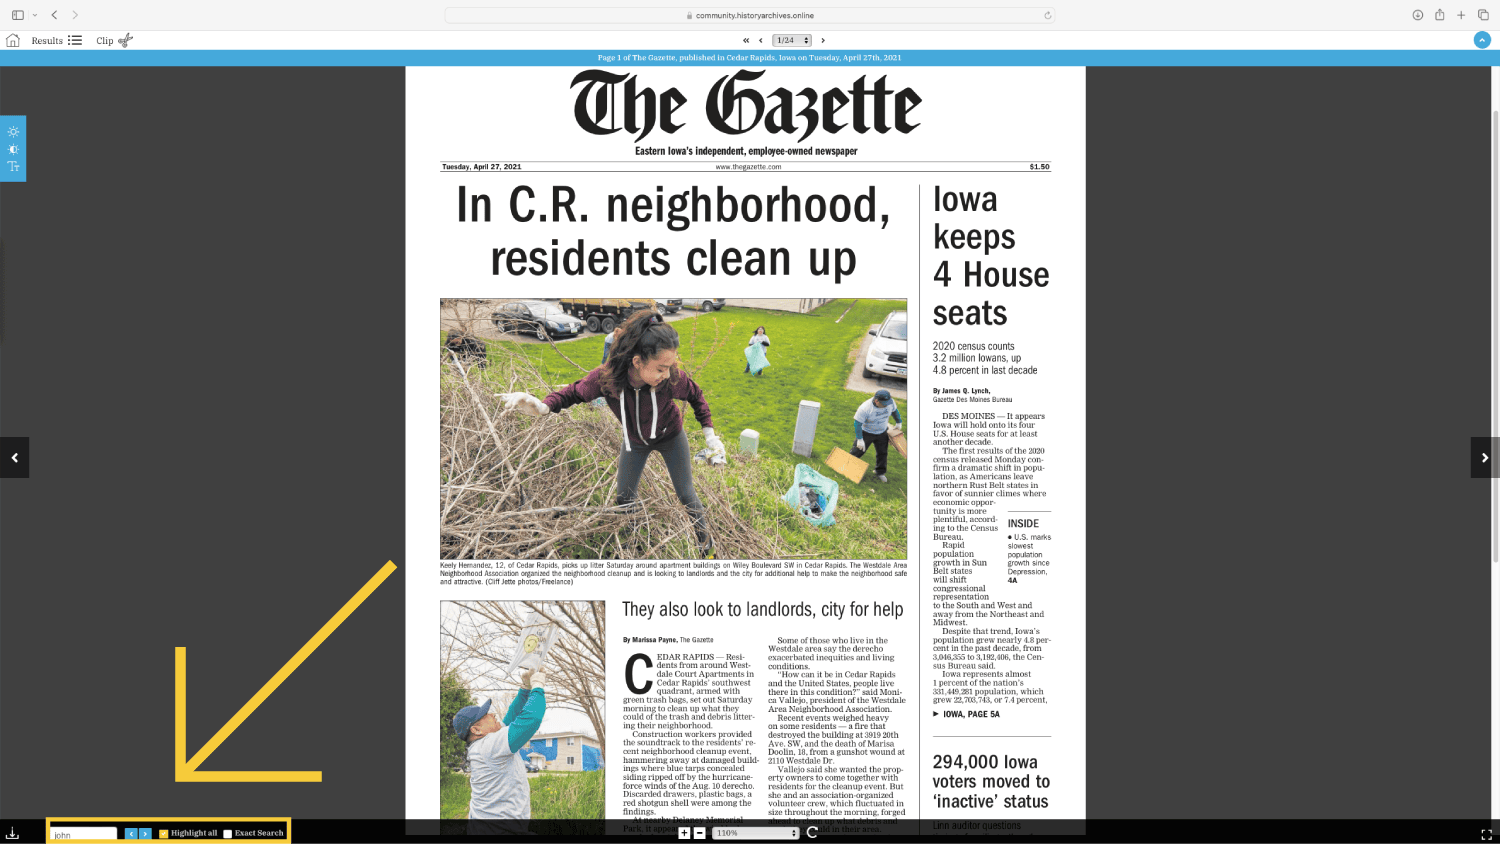
Highlight Tool
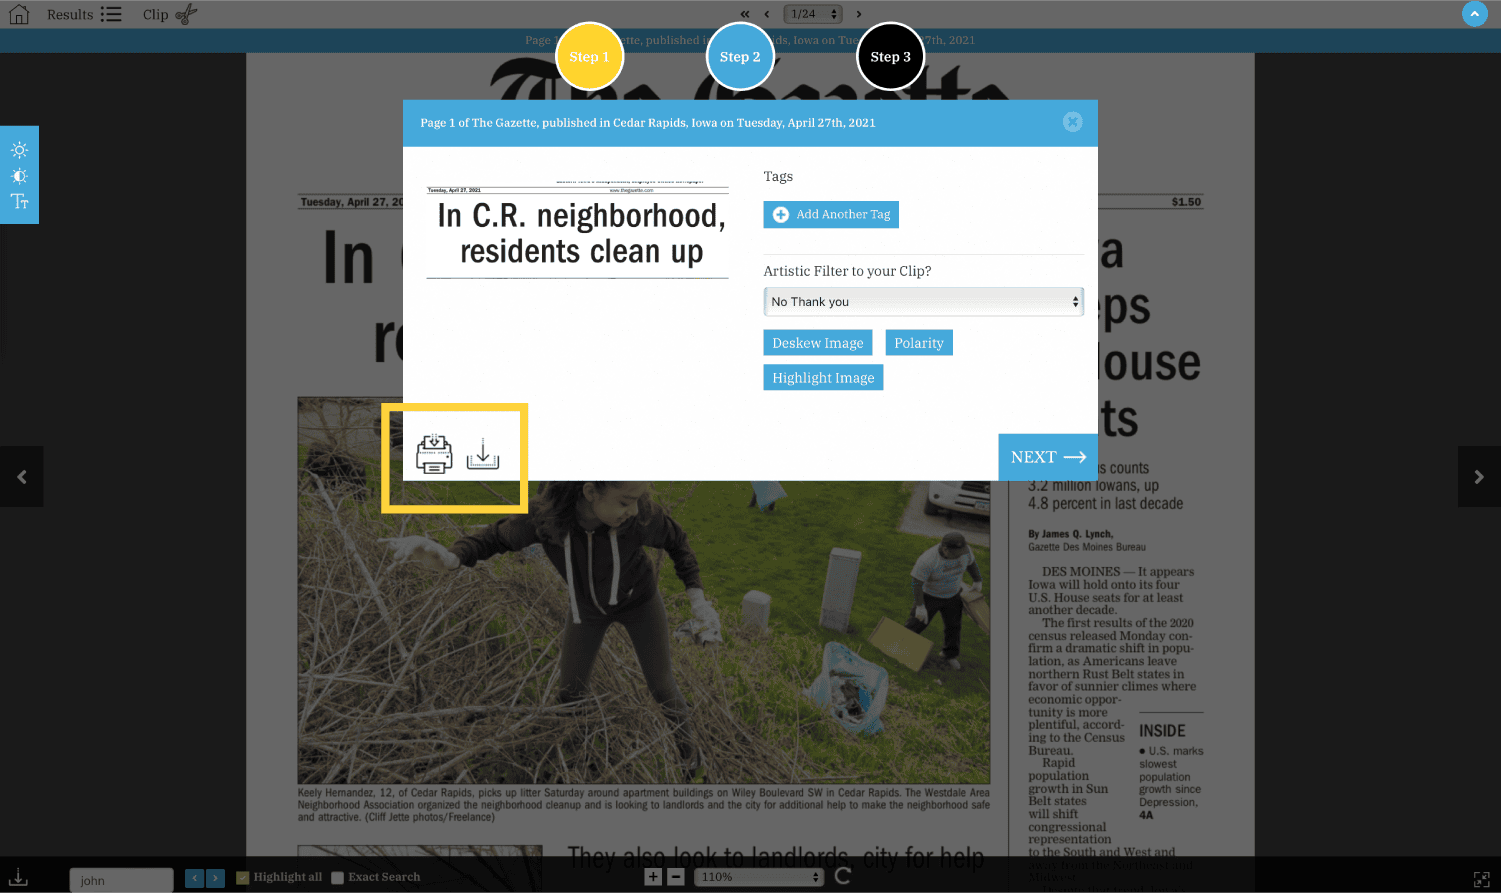
Download Button
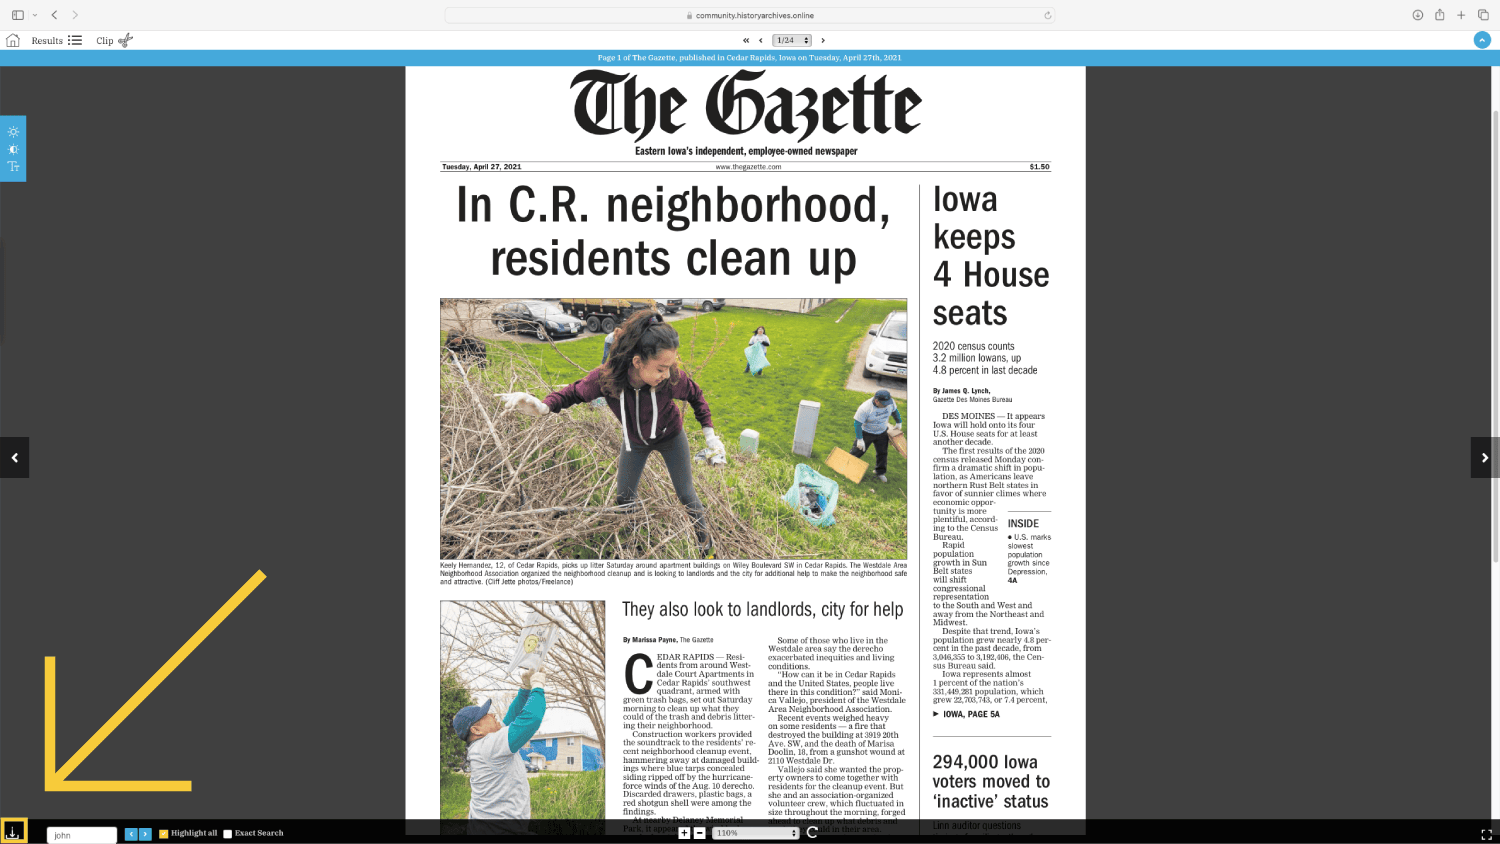
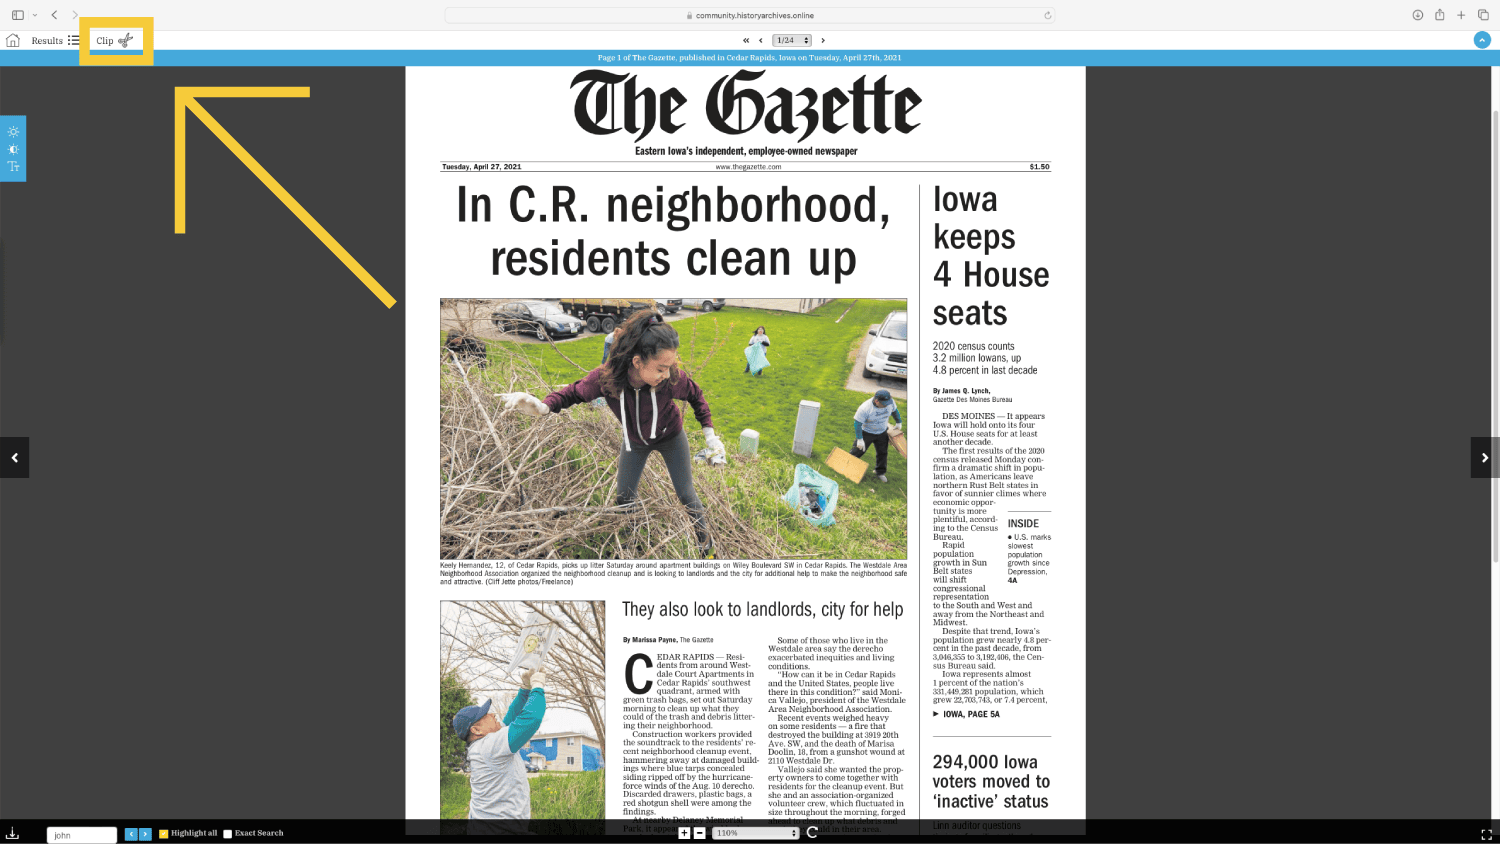
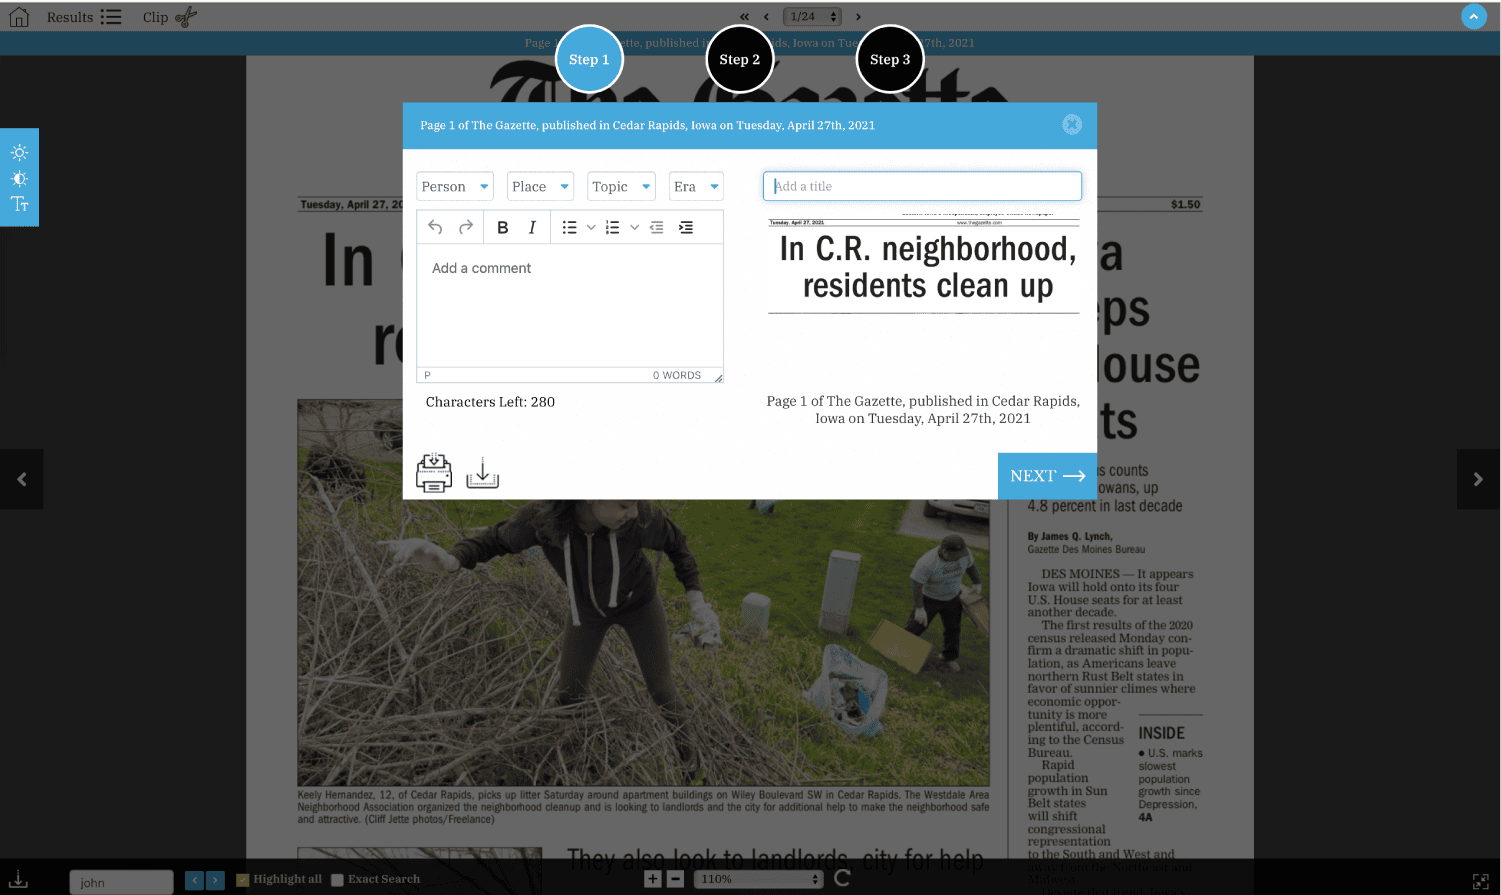
Clipping Tool

Return to Home/Results
Accessibility Features